Tuple is a collection which contains items that can be ordered and will allow duplicate items.
Tuples can’t be changeable and it is written within round brackets.
Example:

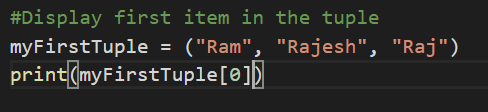
This above example defines tuple named myFirstTuple.
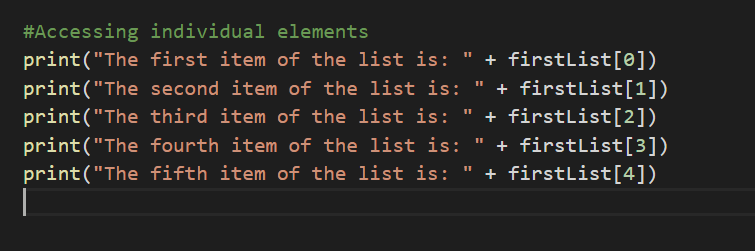
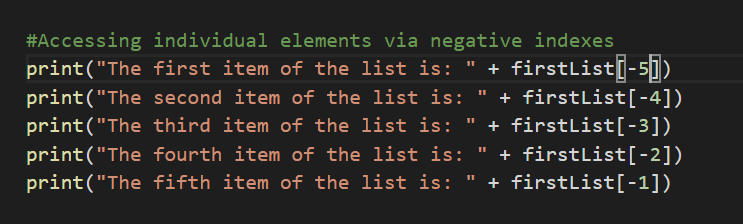
Accessing tuple items is similar to accessing list items using indexes.
Example:
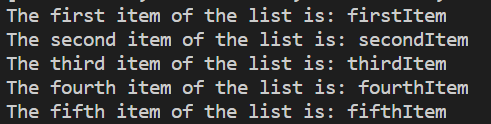
Output:

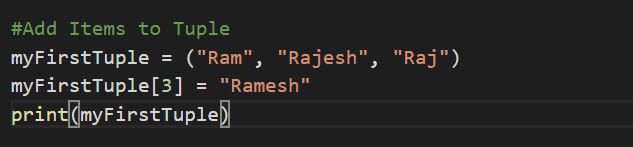
Since, Tuple is non-changeable, we can’t add items to Tuple. Let’s see what happens when we try to add items in a Tuple.
Output:

We get an error whenever we are try to add any new values. The error message clearly indicates that “Tuple” object does not support item assignment.
Similarly, deletion of items is also not possible via Tuples.
There are two methods called count() and index() associated with Tuples.
Count can be used in Tuples and it eturns the number of times a specified value occurs in a tuple.
Example:
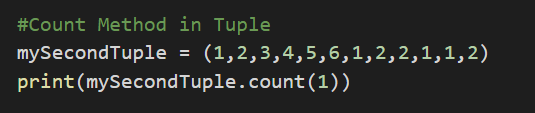
Output:

As you can see in the above example, 1 is added 4 times in the tuple and hence, when we pass 1 to the count method, it displays 4.
Let’s see what it displays when we pass 2.
Example:

Output:

Index method: This method searches for the first occurrence of the value, and return its position.
Example:

Output: The index method takes 3 as a parameter and displays the first index of the tuple. Hence, the output is 2 which means that the number 3 is present in the 2nd index of the tuple.